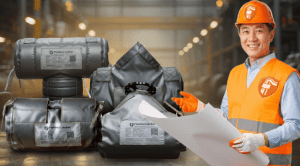
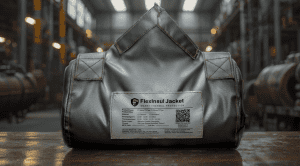
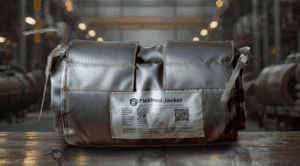
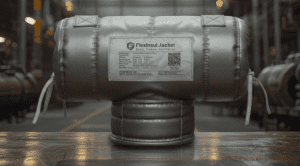
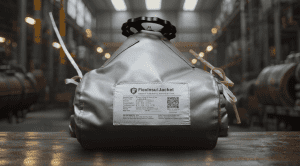
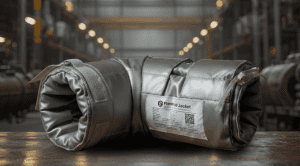
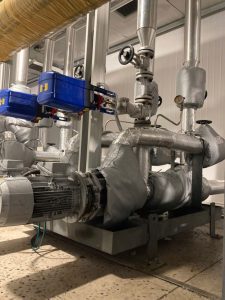
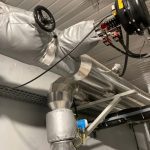
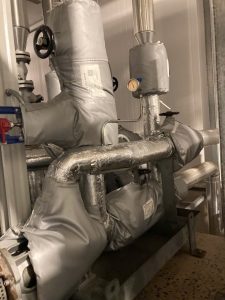
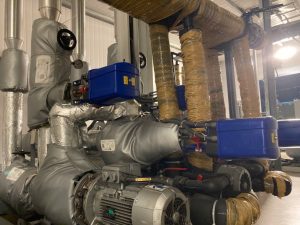
Removable insulation jackets (also known as insulation blankets) are a flexible and effective thermal insulation solution for industrial piping systems, valves, and machinery. However, to ensure they operate at peak performance and last over time, regular maintenance is essential. Proper upkeep not only helps save energy but also ensures operational safety and optimizes costs for the business.
Why is Regular Maintenance for Insulation Jackets Necessary?
Directly exposed to harsh industrial environments, insulation jackets can easily become contaminated with grease, chemicals, and dirt. If not properly addressed, these factors can lead to serious problems:
- Reduced thermal efficiency: Accumulated dirt and grease can create a “thermal bridge,” leading to energy loss and increased operating costs.
- Material corrosion: Chemicals and grease can corrode the outer fabric layer and degrade the structure of the internal insulation material.
- Safety hazards: A torn or grease-saturated insulation jacket can increase the risk of fire, posing a direct danger to operators and the facility.
- Shortened product lifespan: Neglecting maintenance will cause insulation jackets to degrade quickly, forcing businesses to replace them sooner than expected and leading to unnecessary waste.
The Standard 5-Step Insulation Jacket Maintenance Process
To keep your insulation jackets in the best possible condition, you should follow a professional maintenance process consisting of the following steps.
Step 1: Perform Regular General Inspections
Schedule regular inspections (monthly or quarterly, depending on the work environment) and record them in a maintenance log for easy tracking.
- External check: Look for signs of physical damage such as tears, holes, or loose stitching. Pay special attention to straps and buckles for any signs of fraying, wear, or breakage.
- Fit check: Ensure the insulation jacket still fits snugly around the equipment, with no gaps or shifting. Any gaps can cause heat loss.
- Stain check: Inspect the jacket’s surface for stains, especially grease or chemical spills that have soaked into the fabric.
Step 2: Remove Safely and Correctly
Before cleaning, the removal process must be done carefully.
- Always ensure the equipment has completely cooled down to avoid the risk of burns.
- Gently unfasten the straps and buckles. Never pull forcefully, as this can tear the fabric or damage the fasteners.
- It’s a good idea to take photos or notes of the installation position to make reinstallation quicker and more accurate.
Step 3: Perform a Deep Clean
Depending on the type of stain and the manufacturer’s recommendations, you can use appropriate cleaning methods.
- Dry cleaning: For dust and dry debris, use a soft-bristled brush or a vacuum cleaner to clean the surface. This is a quick method for routine maintenance.
- Wet cleaning:
- General stains: Use a soft cloth dampened with a mild soap solution to wipe the surface clean. Afterward, wipe again with a clean, water-dampened cloth and allow it to air dry in a well-ventilated area.
- Stubborn grease stains: A specialized degreasing solvent is needed. Always test the solvent on a small, hidden area of the jacket first to ensure it doesn’t cause discoloration or damage. Apply the solvent to a clean cloth and gently dab the stain until it is completely removed.
Extremely Important Notes:
- DO NOT MACHINE WASH: The pressure and high-speed spinning of an industrial washing machine will destroy the structure of the internal insulation material.
- DO NOT USE A HIGH-PRESSURE WASHER: The strong water pressure can tear the outer fabric, allowing water to penetrate the insulation core, which negates its effectiveness and can cause equipment corrosion.
- MUST BE COMPLETELY DRY: Before reinstalling, ensure the insulation jacket is absolutely dry. Any remaining moisture will reduce its insulating properties and can cause the covered equipment to rust.
Step 4: Repair Minor Damage
If you discover any damage during the inspection, address it immediately.
- Small tears: Use a patch kit or a specialized heat-resistant adhesive provided by the manufacturer.
- Damaged straps or buckles: Contact the supplier for genuine replacement parts to ensure a proper fit and safe use.
Step 5: Reinstall and Store Properly
- Once the jacket is clean, dry, and repaired, reinstall it on the equipment in its original position.
- Tighten the straps to ensure the jacket fits snugly against the surface, eliminating any gaps.
- For spare insulation jackets, store them in a dry, cool place, away from direct sunlight and corrosive chemicals.
By implementing this maintenance routine, businesses not only protect their assets but also ensure maximum energy efficiency and workplace safety.
Request consultation and quotation now!Frequently Asked Questions
Can insulation jackets be machine washed?
Absolutely not. The strong spinning force of a washing machine will destroy the internal structure of the insulation material, causing the product to lose its heat retention capability.
How do you clean grease stains from an insulation jacket?
You should use a clean cloth dampened with a specialized degreasing solvent and gently dab the stain. Always test the solvent on a small, inconspicuous area before applying it to a larger surface.
How often should insulation jackets be maintained?
It depends on the operating environment, but a general inspection should be conducted monthly or quarterly to detect any damage early and take timely action.
When should an insulation jacket be replaced?
An insulation jacket should be replaced when it has large tears that cannot be repaired, the internal insulation material is permanently compressed or flattened, or it no longer fits snugly around the equipment.
Can a torn insulation jacket be repaired?
Yes. For small tears, you can use a special patch kit or heat-resistant adhesive. For larger damage, contact the supplier for professional repair advice.

