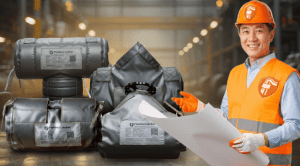
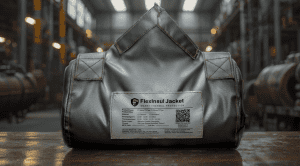
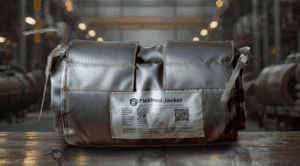
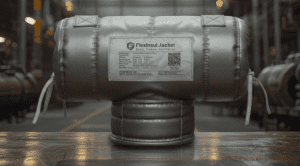
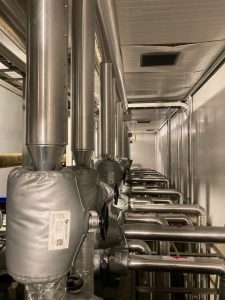
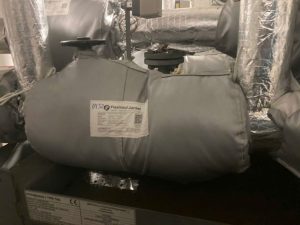
To produce a well-fitting insulation jacket that performs optimally, accurate measurement is the first and most critical step. An incorrect specification can lead to wasted costs, reduced insulation efficiency, and installation difficulties.
This article provides a detailed guide on the process of measuring insulation jackets for common industrial equipment, helping you proactively provide precise technical specifications to the manufacturer.
Why is Accurate Insulation Jacket Measurement Important?
A custom-fitted insulation jacket provides numerous advantages over standard solutions:
- Optimized Thermal Performance: A snug-fitting jacket eliminates gaps that cause heat loss, helping the system operate stably and save significant energy.
- Ensured Workplace Safety: The outer surface of the insulation jacket maintains a safe temperature, minimizing the risk of burns for technicians operating or performing maintenance near the equipment.
- Flexible Installation and Removal: The custom design allows for quick and easy installation and removal for inspection and maintenance, requiring minimal effort.
- Cost Savings: Measuring correctly from the start completely avoids the cost and time associated with repairing or replacing ill-fitting jackets.
Tools You Will Need
To ensure the measurement process is smooth and yields reliable results, you should prepare the following tools:
- Soft Measuring Tape (Fabric Tape): Essential for measuring the circumference and complex curves of valve bodies and elbows.
- Calipers: The ideal tool for accurately measuring the inner and outer diameters of pipes and flanges.
- Metal Tape Measure: Used for measuring length, height, and other straight distances.
- Paper, Pen, and Camera: For recording specifications, making quick sketches, and taking photos of the equipment from multiple angles. Visual images are an invaluable reference for the manufacturing unit.
How to Measure Insulation Jackets for Different Types of Equipment
Each type of equipment has a unique shape and requires different specifications. Below is a detailed guide for the most common applications.
Measuring Insulation Jackets for Valves
Valves have a complex structure, so the following parameters must be measured meticulously:
- Valve Type: Clearly state whether it is a gate valve, globe valve, ball valve, butterfly valve, etc.
- Pipe Size (NPS): Determine the Nominal Pipe Size of the pipe the valve is installed on.
- Flange Standard: Identify the standard to which the valve is connected (e.g., ANSI, DIN, JIS).
- Overall Length of the Valve (A): Measure the distance between the two flanges.
- Height from Pipe Centerline to the Top (B): Measure the vertical distance from the center of the pipe to the highest point of the valve (usually the top of the handwheel or actuator).
- Flange Diameter (C): Use calipers to measure the outer diameter of the flange.
- Valve Body Circumference: Use a soft measuring tape to measure the circumference at the widest part of the valve body.
Note: Always take overall photos of the valve, especially details like the handwheel, gearbox, or actuator, to send along with the measurements.
Measuring Insulation Jackets for Pipes and Elbows
- Outer Diameter of the Pipe: Use calipers or a tape measure to determine the outside diameter of the pipe. If there is an existing layer of insulation that you want to cover, measure this layer as well.
- Length of the Pipe Section to be Insulated: Accurately measure the length of the straight pipe section.
- For Elbows (90°, 45°): Measure the bend radius of the elbow. The simplest way is to measure from the center of the corner to the centerline of the pipe.
Measuring Insulation Jackets for Flanges
- Outer Diameter of the Flange: Measure the overall diameter of the flange.
- Connecting Pipe Diameter: Measure the diameter of the pipe connected to the flange.
- Number & Size of Bolts: Count the number of bolts and measure their diameter.
- Gap Between Two Flanges: If it is a joint, measure the gap between the two flanges that needs to be covered.
Key Tips for Accurate Measurement
- Measure in Multiple Locations: For uneven surfaces, measure the circumference/diameter at least at 3 different points and use the largest measurement.
- Note any Obstructions: Make notes and take photos of any obstacles near the area to be covered (supports, sensors, gauges, other pipes…). This helps the manufacturer design appropriate cutouts and slits in the jacket.
- Double-Check Measurements: Always double-check your specifications at least twice to ensure there are no errors.
- Draw a Simple Sketch: A hand-drawn sketch with dimensions will help the manufacturing unit visualize the requirements more accurately and quickly than any description.
By following these guidelines, you can confidently provide precise technical specifications, helping the insulation jacket manufacturing process proceed quickly and effectively.
Request consultation and quotation now!Frequently Asked Questions
Why is it necessary to measure insulation jacket dimensions accurately?
Accurate measurement ensures a snug fit, optimizing thermal efficiency, ensuring safety, simplifying installation, and saving on repair or replacement costs.
What tools are needed to measure an insulation jacket?
Basic tools include a soft measuring tape (fabric tape), calipers, a metal tape measure, along with paper, a pen, and a camera for notes and photos.
Should I subtract any allowance from the measurements?
No. You only need to provide the exact, actual measurements of the equipment. The manufacturer will calculate and add the necessary material thickness to ensure a proper fit.
What should I do if there are obstructions around the equipment?
Take notes, measure the distance from the obstruction to the area that needs to be insulated, and take clear photos. This information is crucial for the manufacturer to design appropriate cutouts in the jacket.

